
We’re kind of excited.
The last screw has just gone into our van’s outdoor kitchen.
That means we’re officially done with the conversion of our little ford transit camper van. It was a massive process, but we’re stoked with what we’ve built (and learnt).
Both of us started with minimal skills and a slight addiction to “van tour” videos.
This post is filled with the tips and tricks we picked up over the last 3 years. It’s broken down into chapters so you can get to the goodies most relevant to you.
We hope this serves as a good starting point.
Note: Most of this is going to be relevant to Aussies and Kiwi’s.
Table of Contents
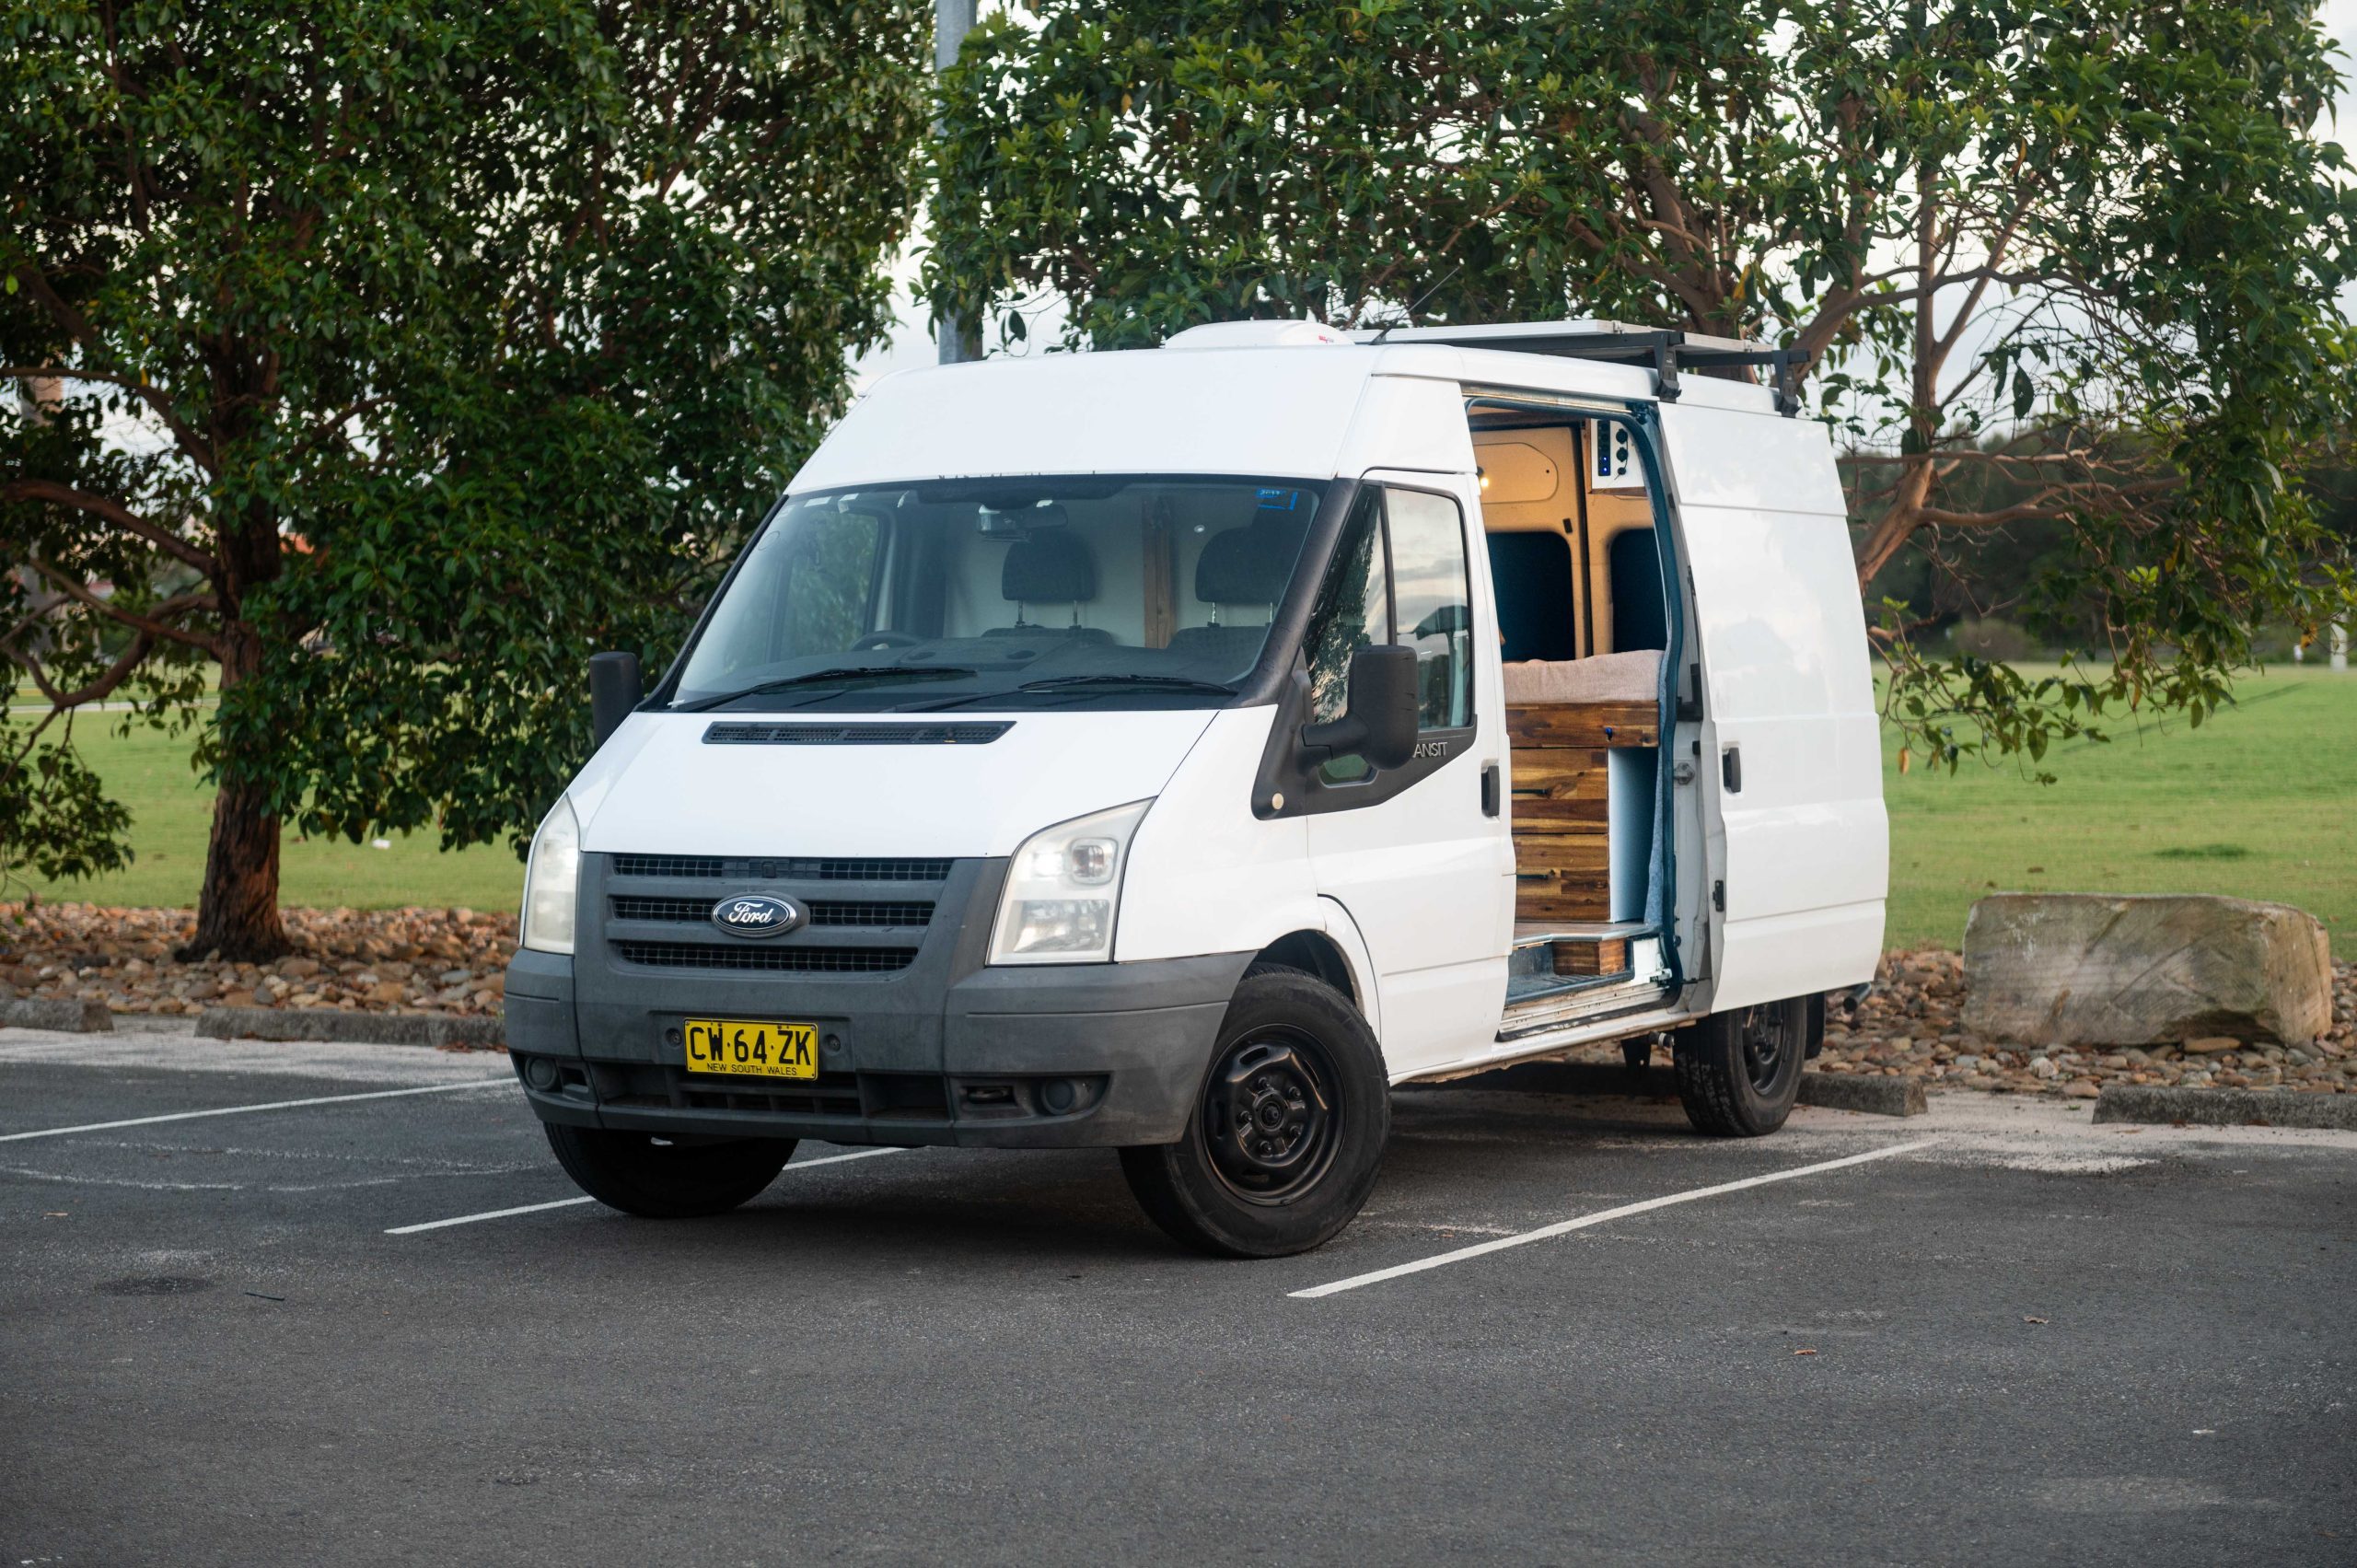
Our Vehicle
- Ford Transit 2010 (Mid Roof, Mid Wheel Base)
- 190,000km odometer reading
- 2.4L Turbo Diesel
- Minimal windows
- Manual
I was originally looking for a high top short wheel-based Mercedes Sprinter, but they were too pricey for my uni student budget. We had to settle for something less fancy. After a heap of hunting, we purchased the vehicle for AU$8,200 at an online auction around Christmas 2018. It wasn’t the exact model I initially wanted, but the price was too good to pass. The same vehicle would have cost me AU$15,000 from a dealer. I wrote a little guide to finding better prices for Aussie cars.
I knew we were going to be stealth camping a fair bit. So the vehicle needed to fit in a normal car park, have minimal windows and be larger than a Hiace. The high roof was a “nice to have”, but not essential for our use case.
I went to inspect it in the lot and it ran beautifully. The mechanic told me it was in good condition even though there was no service logbook. Purchasing this vehicle was a calculated risk, but it worked out well.
Since owning it we’ve done regular services and only had issues with a small leak in the fuel tank. A$500 fix for A$6000+ savings.
Our Conversion
We wanted to build a multi-weekend warrior.
A van built for adventures, but that we could also live out of for months at a time. We designed it to have still have the comforts of a basic home:
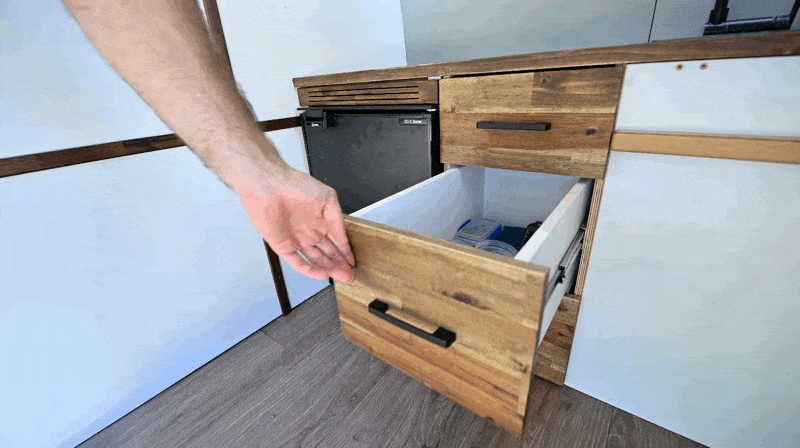
- A bullet proof electrical system. Capable of running the fridge 24/7.
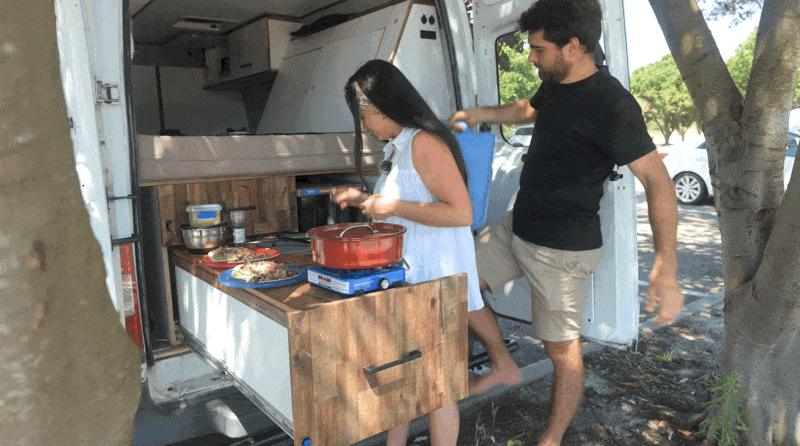
- Spacious outdoor kitchen, with a smaller indoor backup bench.
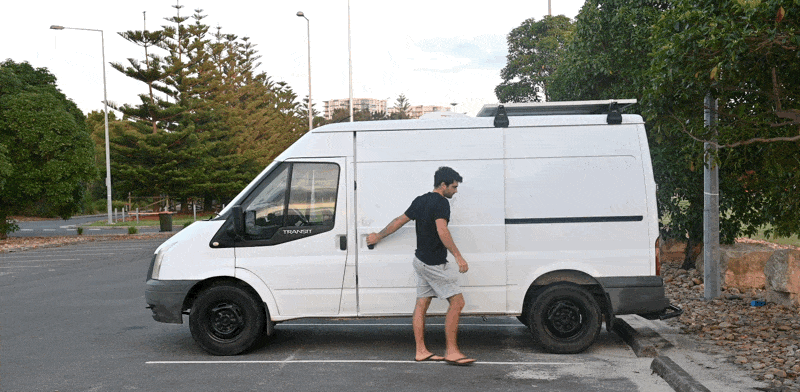
- Stealth-ish exterior for discreet city camping.
- Running water & cold shower.
- Good insulation & airflow.
- Sleep two, seating for three.
Cleaning and Rustproofing
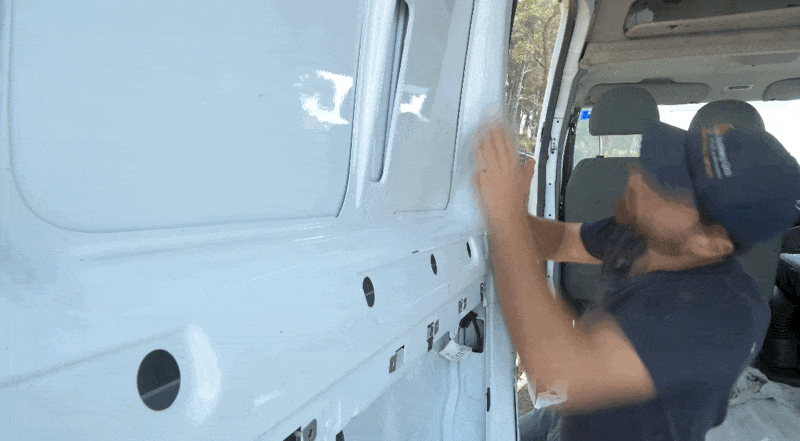
If you’re using a second hand van it is definitely going to be dirty and have some rust. I recommend stripping it back with sandpaper or chemicals, priming and painting it over.
Clean, sand, clean, prime, sand, paint.
Rust prevention is a dark art.
It’s a tedious job, but if you’re about to slap together a A$20,000+ build, you probably want it to last. Everyone has their own secret potion, and I don’t think mine is the best.
DYOR.
This is more of a reminder to take it seriously.
Now, let the fun stuff begin.
Insulation

Australian vans generally require less insulation than the winter-proof builds of North America and Europe.
Some people here opt to skip it all together…but they often end up half cooked in the summer heat.
I found the following three layer insulation system to work well. It’s a pretty common system for Australian conditions. We’ll use it again on the next build.
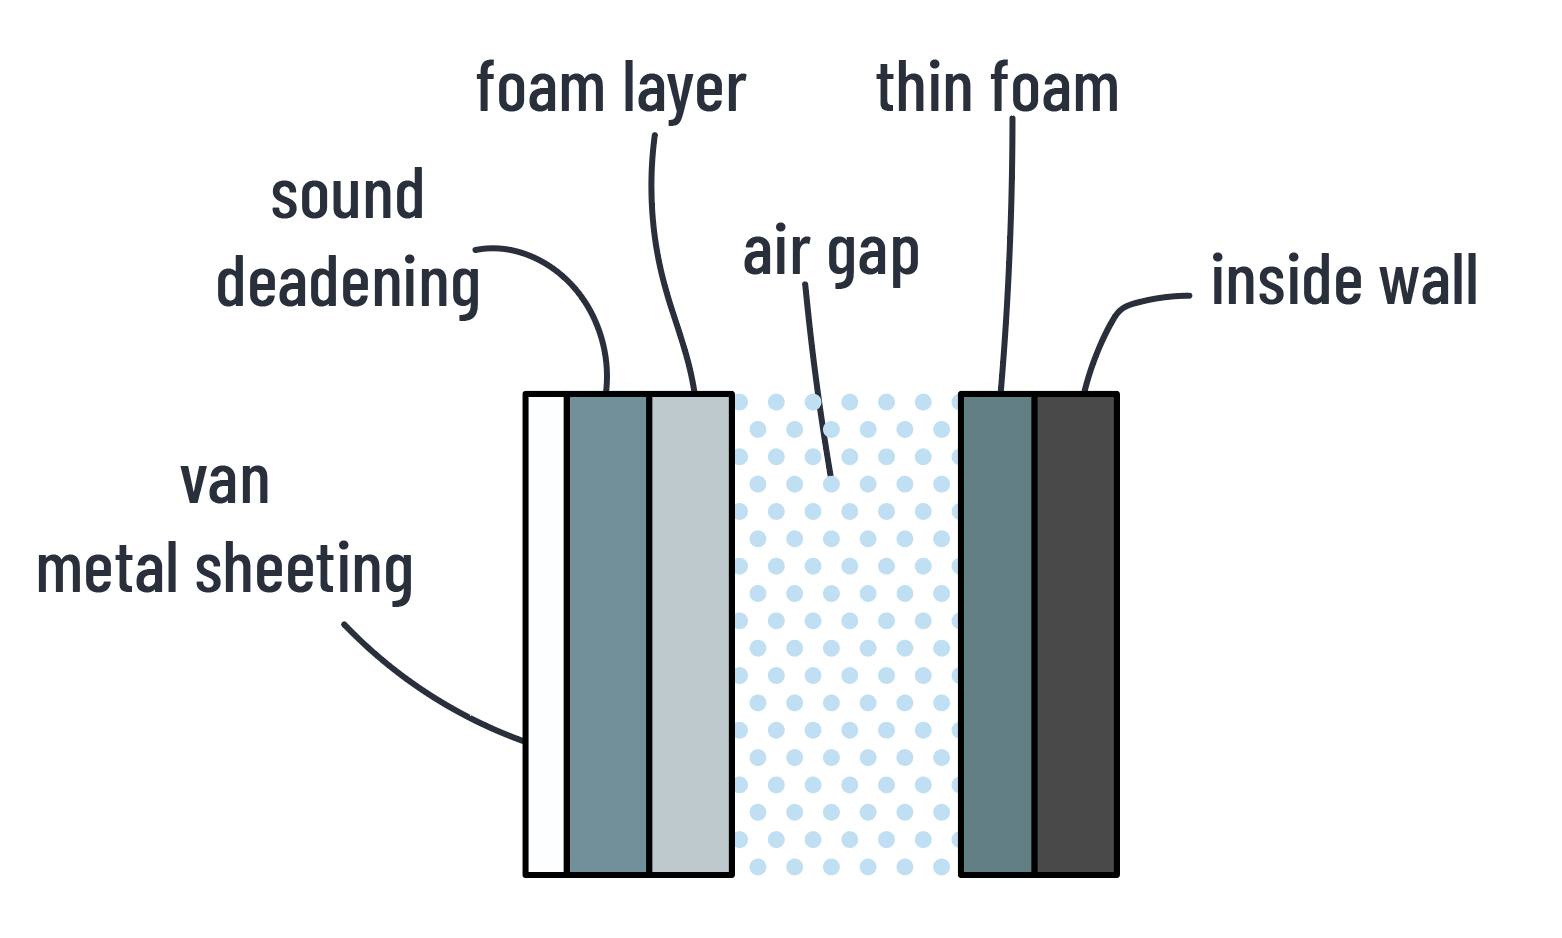
Layer 1 – Butyl Sheets
The first layer of the insulation sandwich is an aluminium backed butyl sheet that you stick directly to the inner surface of your van’s metal sheeting. The main purpose is to minimise vibrations and road noise when you drive or sleep next to busy roads. They work a treat!
The user manual will say to cover the whole inner van surface. Appropriate for the cab or a car, but don’t bother with the back of a van. 20% of the coverage will get you 80% of the results without weighing own your van.
I suggest one large sheet per exposed “panel” of your van and then as much as you can fit in the awkward nooks and crannies. Most important areas to cover are the floor and wheel wells. Full coverage is a good option in those areas.
No need to buy the brand names for this material.
Ebay search for butyl sheets will return a bunch of of results that are much cheaper than the white labelled stuff. It’s the same stuff. If you can weight for slower freight and have a large van you can get it even cheaper in bulk off Alibaba and Aliexpress.
Layer 2 – Sticky Foam
The second layers is a reflective barrier with some sticky foam. Use this over the whole inside of the van. There needs to be no bare metal showing anymore. This is the layer that does most of the work. Don’t cut corners here. Putting insulation tape at the junction where a two sheets meet each other is a good idea.
Layer 3 – Foam Liner
Depending on how you plan build your van, it would be wise to add a third layer of foam on the inner surface of your ceiling and walls. This creates an air gap which really helps keep inside temperatures consistent.
Layer 4 – Window Covers
The final piece of the insulation puzzle is reducing thermal exchange from the windows.
Magnetic window blinds with insulation sandwiched within are a must. They also give you a bit of privacy and block out the light.
If you don’t know how to sew (and your mum can’t help you) there are a few small businesses that sell custom made blinds. Fair warning, a lot of labour goes into these, so they are a tad ‘spenny.
Subfloor / Underlay
We initially used cheap varnished plywood to do the subfloor of the van.

Mistake!
The folks at Vanable Fitouts who strongly recommended we use a dense foam board instead. We ended ripening out the plywood floor and installing a few sheets of XPS foam (1200*600*30mm).
- Much lighter, easier to work with than plywood.
- It’s also waterproof, insulating and ultra resistant.
- Should cost you about AU$30 per sheet.
If you end up choosing to use a plywood floor make sure to get marine grade ply so it doesn’t start rotting from condensation. Maybe even give it a varnish.
Don’t use chipboard or MDF. Both expand with the slightest moisture and will not last more than a couple years. I’ve seen a couple beautiful build destroyed within 6 months of completion.
Flooring
Our palace had the flooring of a Potts Point villa; hardwood laminate flooring from Bunnings.
It was expensive and far too heavy.
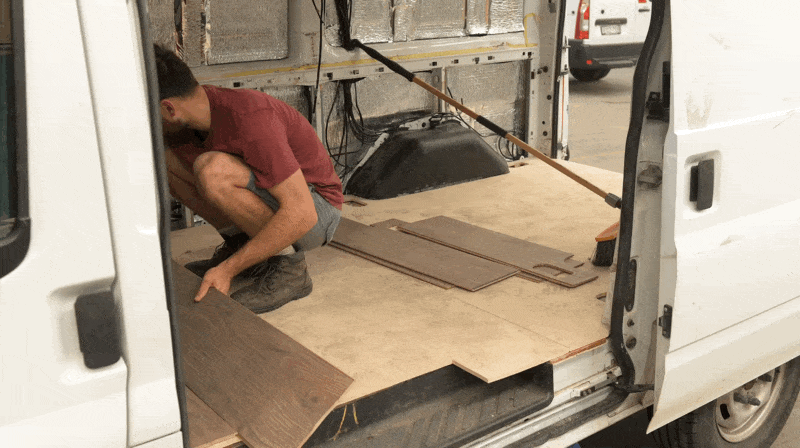
I do not recommend copying us.
Most folks choose “clip-on” vinyl flooring. It’s sold under a bunch of different brand names, but this is the one I’ll be using on future builds.
Our modified suggestion ends up being:
- Light
- pretty
- cheap
- resistant
- insulating
- water proof
- easy to replace damaged sections
A textured rubber mat is a good option too if you’re worried about high use areas like the garages or steps. It’s easy to install and pretty cost effective too.
The diagram below shows the floor layers we ended up with.

The Layout

Our van is small, but that is a feature, not a bug.
We spent hours in CAD software (sketchup) to make it practical. These are the features we managed to squeeze into the layout:
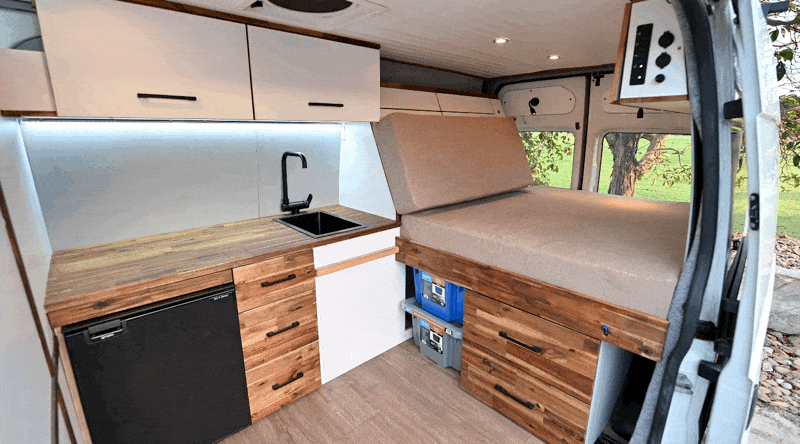


Build Materials
This blog is a work in progress, I’m working on a more comprehensive list of everything we used in the build.
This link is a good starting point though.
We built all of out furniture with melamine backed ply wood. We strongly recommend it.
This material is very easy to work with, because it’s thick enough that you can make a butt joint without your screws pulling through. Pocket hole joints are also really easy compared to thinner and poorer quality polywood. We also loved that the melamine backing comes in different colours and help it look polished without finishing. Avoiding any varnish or paint is a pretty massive time saver.
The downside is that it’s a little heavy… You’ll need to cut “swiss cheese” holes in large pieces to keep weight down.
Vansmart sells 16*2400*1200 sheets of it, but there are other suppliers around as well. It can be a little tricky to find on short notice and isn’t often stocked in common hardware stores.
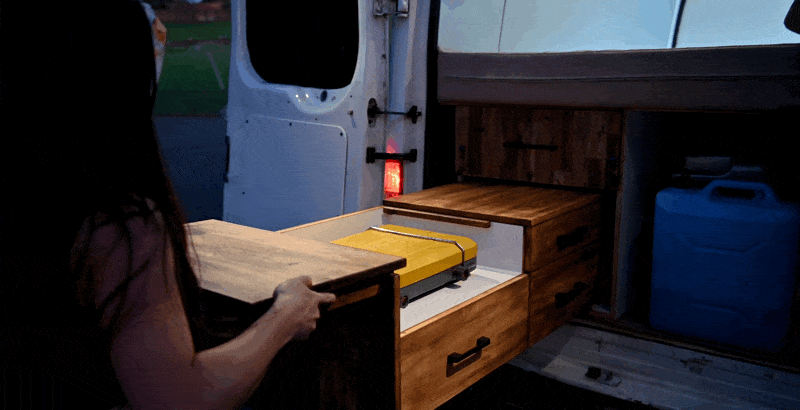
Electrical
Brains of the operation was professionally installed and checked by an electrician, but all the wires for loads were installed by Loic. Here is what we settled with:
- 200aH Enerdrive LiFePO4 Battery
- 2x Solar Panels
- Enerdrive DC2DC battery management unit (solar and alternator battery charging)
- 85L Buschman Fridge
- Fuse Box and Spare Cables for you to add other 12v electrical loads
- Dedicated spot to install an inverter if you need.
- Auto running Water Pump (with switch to turn off and on)
- MaxxFan (roof fan) with remote.
- Sirocco Fan II (inside fan)
- Heaps of lights
- Reversing camera
Plumbing
50L and a waste tank, custom built with PVC piping.